Welcome!!

This blog is a compilation of all me and my husband's favorite recipes. Most are simple and easy to make. Please leave feedback if clarification is needed, if you like adding something else to the recipe, how you do it differently, etc. I would LOVE feedback! And mostly, I just hope you can enjoy eating some yummy food!!

To get regular updates, like me on Facebook or
Follow Me on Pinterest
Showing posts with label Crafts. Show all posts

Saturday, December 6, 2014

Children's Felt Nativity

My oldest child is now 3 and I'm so excited about this Christmas because he can finally start to understand the nativity scene. I wanted him to have something that he could touch and explore with as he learned who all the different characters were and why they were special. I made my first nativity using the pattern on Stay At Home Educator but it wasn't quite complete or accurate so I've remade the patterns. You'll find them at the end of this post. And for those of you who don't want to make it, you're in luck! I've made one extra! Buy it here!


There are really only 5 things you need to make it: felt, embroidery floss, felt glue, scissors, and a needle. If you don't shop the sales or use coupons, it'll cost about $20. I paid about $8 for all of my supplies. Here's your list of stuff to buy at the craft store:

Felt (buy 1 of each except for brown): grey, green, black, cream, light blue, gold, royal blue, tan, maroon, white, and buy 2 browns.
Embroidery floss (contrasting colors): white, cream, black, light green, dark green, light brown, tan, and yellow
Large white felt background
Felt glue

*Note: I wanted the embroidery floss to stand out on my characters and trees so I chose lighter and brighter colors than the felt

Let me give you a few tips before you start sewing and cutting away. I double backed everything. Meaning that there are 2 layers of felt on every piece so that it would be more durable. Because felt stretches and moves a little bit as you sew, I recommend cutting out the top layer, stitching it onto the bottom layer, and THEN cutting it out. Take my sheep for example:


Notice the little tiny white trim around the legs? I cut out the top layer, laid it on top of a second layer of cream, placed the legs and head where I wanted them, stitched around it, glued the legs and head into place, and THEN I cut it out. This is the process that I recommend.


I recommend getting the wisemen completely sewn and glued together before you cut the body figures out. You'll notice on my pattern that the wisemen have heads attached to their bodies and that they don't have a top. That was intentional. Just cut around their heads and crowns after they are all glued together. (Eyes are just knots)


On the characters with head robes, recommend cutting out all the pieces and then sewing them together because the head robes serve as a double backing and you want them to be stitched on. I hope that makes sense.


I made a little slit so that I could tuck the top of the head in. If I made them hair, I just glued it on as an after thought. (I stitched the manger on and glued the hay on)


The background was by far the most time consuming. If you're sick of hand stitching, maybe it'd be better just to glue it on.


Lastly, cut the second layer of the star a little bit bigger, it just looks better!

Here's the Pattern! Happy sewing!

Monday, December 9, 2013

Mod Podge Ornaments


While I was Christmas ornament shopping for my boys, I was simply annoyed at the ridiculous prices!  I decided that I was going to make my own ornaments and save tons of money and have awesome ornaments.  I made my boys, Hazen and Revin, the same ornament with their initial on it and for the family ornament, I had 4 different pictures that I used.  A motherly moment, a fatherly moment, a brotherly moment, and a family moment.  You could also do 4 different highlights from the year like a vacation or something.  Anyways, this is how it was done!

This is what you will need:
Wooden blocks, paint, sponge brush,
mod podge, ribbons, scrap book paper,
photographs, and wooden letters
 

Trace letters on the back of scrap book paper and cut it
out just a little smaller so that it doesn't hang over
the little wooden letter when placed on top.
 

Paint wooden blocks and letters.  Once they are dry,
paint a very thin coat of mod podge on the surface of
the letters.  Firmly press down paper cut outs and paint
mod podge over the top and set aside to dry.


Cut out photos and squares of scrap book paper.  Make sure
that they are smaller than the side of the block.  Paint on
a very thin coat of mod podge and firmly press on photos
and paper.  Be careful when using regular paper because it
can tend to bubble.  Card stock paper is easier to use in this
regard.  After pressing on paper, paint on a top coat of mod
podge.  Choose which side to put the letter on and press it
on tightly to the freshly mod podged side.  Let it dry.

*If  you're putting pictures on all sides, make sure to do the next
step of putting the ribbon on BEFORE you place your pictures.


Paint a thin line of mod podge down the sides and across the
bottom.  Firmly press on ribbon and tie a square knot at the top.


Tie another knot at the top to create a loop to hang it up with.


Monday, October 21, 2013

Make Your Own Truck Cake!


I cut my cake into thirds and went from there, doing my best to make a truck shape.
I used doughnuts for the wheels but something like oreos would be great too.
I wished he was turning one so that the candle could be the antenna but on well...


Wednesday, October 9, 2013

Easy 3 Table Toppers in One

A few years back I had a need to make something crafty so I ended up at Micheal's Craft and TONS of stuff was on sale!!  So this is what I bought for $20:


I put some beads that I already had in the jar with the candle and it makes for 3 different table toppers


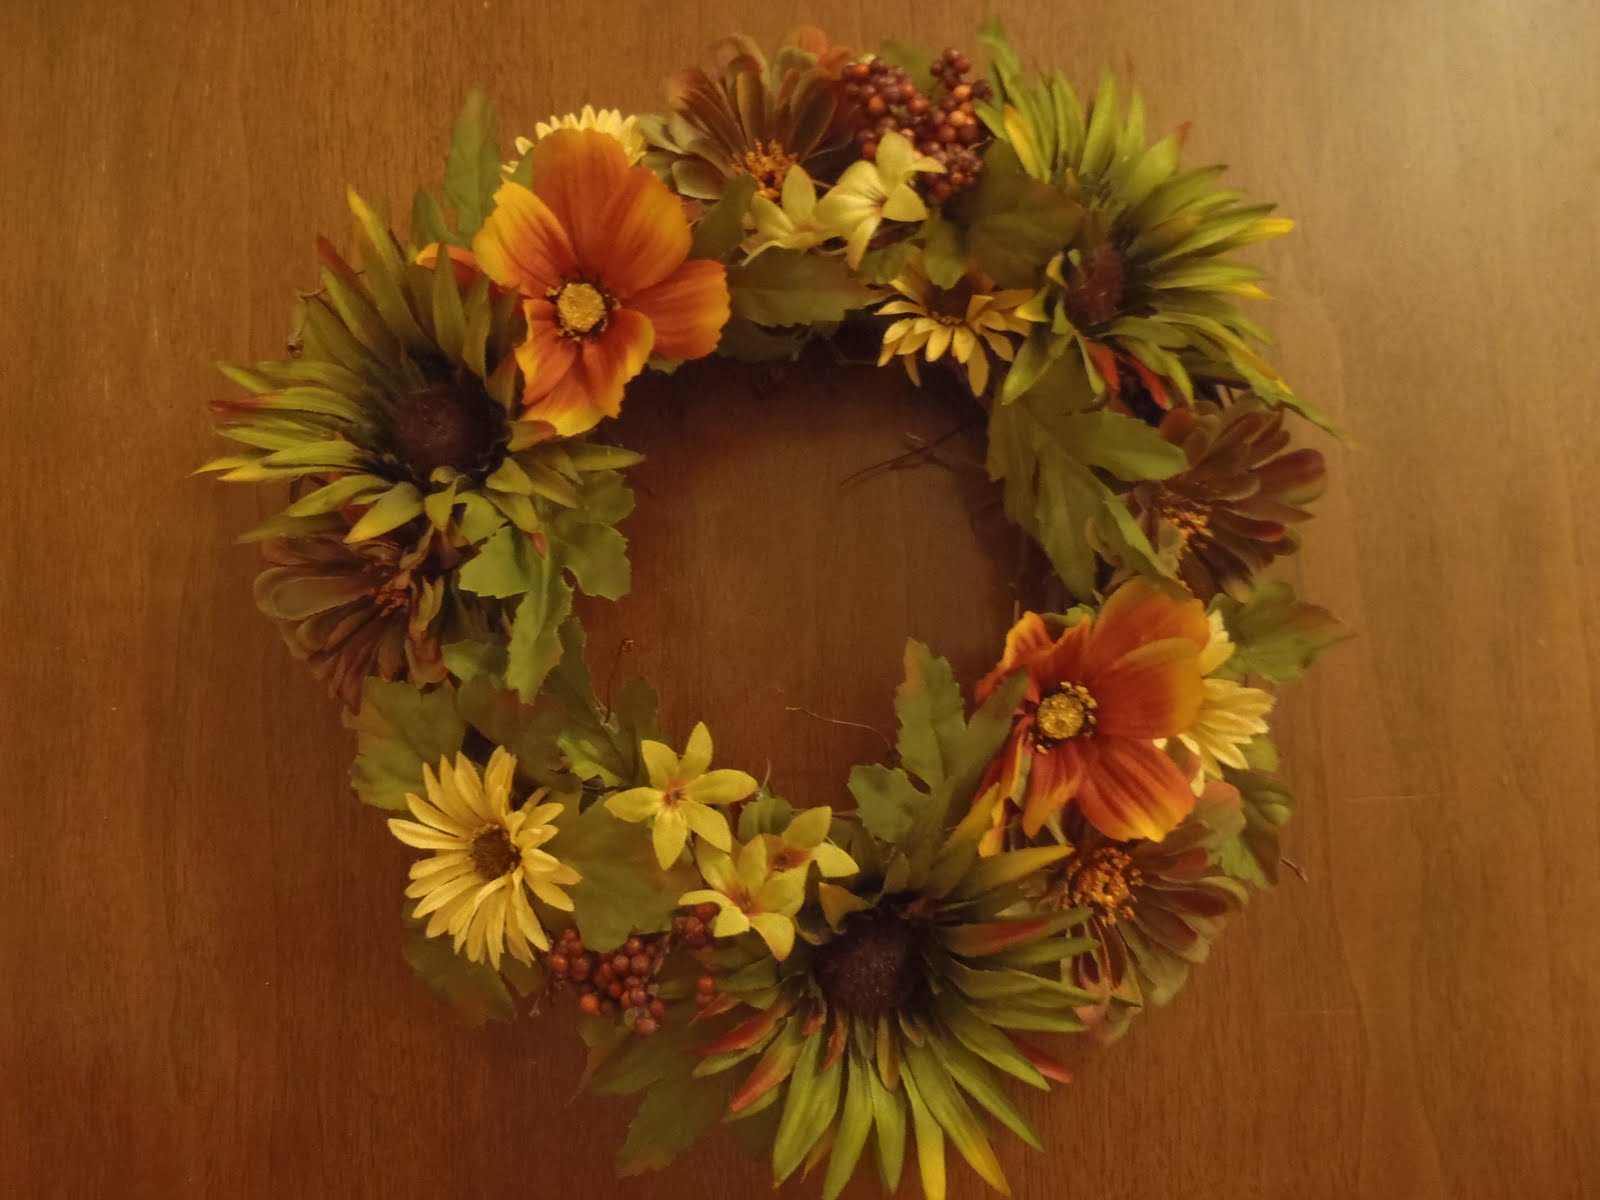
And then I made the wreath.  I started by placing the flowers where I wanted them to be and then I hot glued them into place.


Put it together and what have you got?  Bippity Boppity Bo!


Related Posts Plugin for WordPress, Blogger...